Introduction
The reason for installing a heat pump

The day we saw the first Electricity note from the first winter past in our new home, I almost fainted!
No need to tell you that at that moment, I did not need heating so much I had hot to see this bill …
It’s not difficult, we first thought of a mistake, but EDF immediately told us that no, everything was normal …
A winter spent “Cailing” at 18 ° C for that, it’s no longer possible!
So what to do? What would you have done in our place ??
Find an alternative to this dirty electric heating that does ultimately that heat the blue card!
I tried to inform me everywhere but on the net, you still have a lot of “Margoulins” who are there just to sell you something!
I see who smiles and who sees exactly what I mean …
After having spoken around me, it turned out that the heat pump was a credible alternative!
So here, I present you in this report the establishment of a heating or air conditioning solution with air pump Air Air Atlantic Gainable.
The installation of a heat pump itself will become a real breeze!
Indeed, no need for a heat pump installer to mount your heat pump.
I will explain to you step by step how to install a CAP yourself (except for gas to make by a professional)!
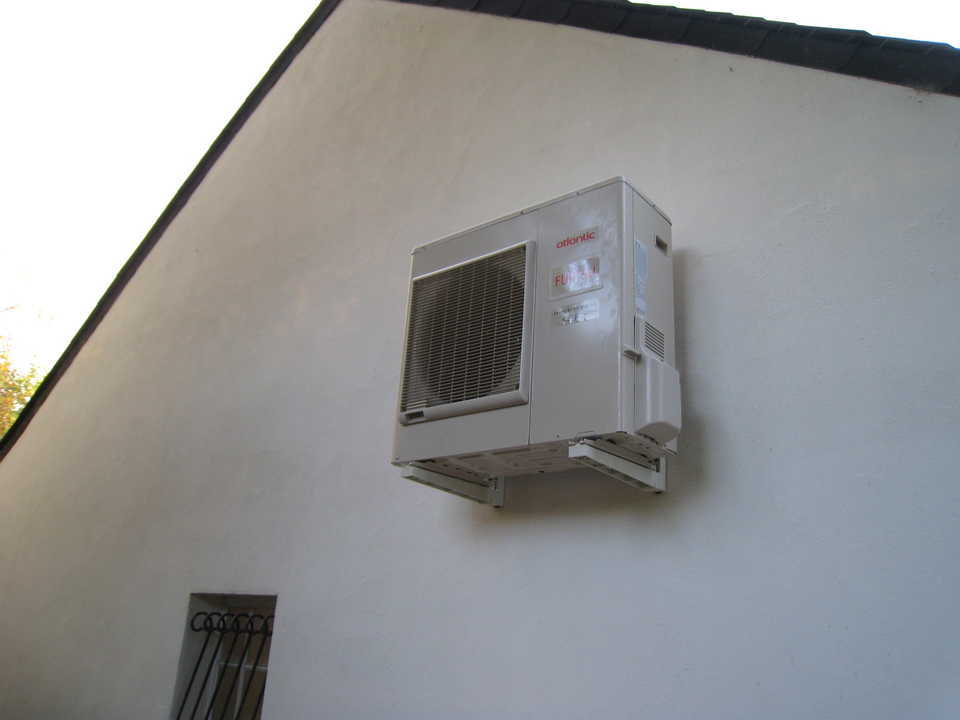
Finally I hope and that’s what we will try to see together
We will see how to install a heat pump, from the outdoor unit to the PASSANF indoor unit by the blowing and suction caps.
Do not hesitate to ask your questions in the comments!
Presentation of the heat pump – What is a PAC?
Heat pump – Principle (How does an Air Air heat pump operate)
So what’s already a heat pump?
It’s a thermodynamic device that will recover the heat outside your home to reintegrate it inside the house, all thanks to a compressor.
A heat exchanger will recover the calories present in the air or in the earth to warm the air and reinject it.
There are two ways to take calories outside:
- In the outside air, we then speak of aerothermal
- in the earth and there we talk about geothermal energy
A heat pump can have 3 functions:
- CHAUFFAGE
- Air conditioner
- hot water production
The big advantage of the heat pump is to economically produce heating or air conditioning. This is called a reversible heat pump.
It’s considered a clean energy, even if for this argument, I have a little harm when we know that to power the heat pump, it takes electricity and electricity that it Nuclear or other, Ben, the impact on the environment can not be neglected.
In short, this being said, we must admit that in relation to a toaster type radiator that we all know, the energy spent in relation to the restored heat is not common measure!
The distribution of heat can also be done in two ways:
- by air using blowing mouths or interior units per room, ideal for renovations when there is no water circuit in the house
- With water radiators, ideal when the water circuit is already in place
The heat pump of this report is an ATLANTIC brand air air heat pump.
This is a wabble version with blowing mouths.
We will now show you how we install this famous heat pump.
If you want help on heat pumps, do not hesitate to ask in the comments.
I also wrote some lines on how a heat pump works if it interests you to know a little more.
Installation of the outdoor unit of the CAP
The outdoor unit is the most visible part of the heat pump. Besides, it is she we call heat pump.
It’s a kind of big fan that will tap the calories of the air, and by a compression system will heat a gas that will circulate even in the indoor unit to warm the air from the house.
This is the inverted principle of the refrigerator.
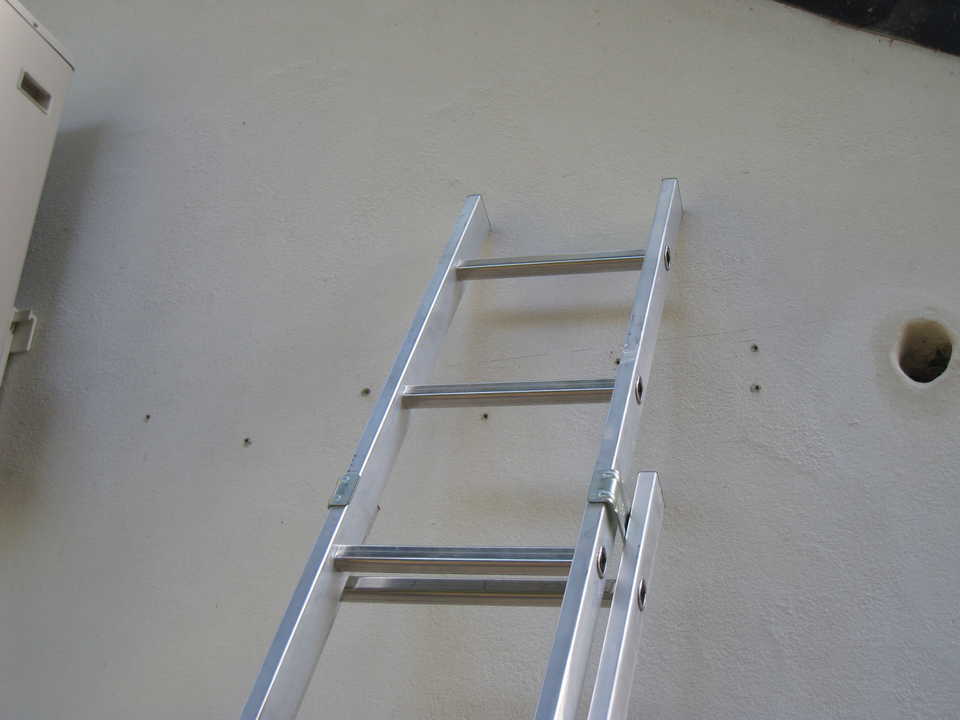
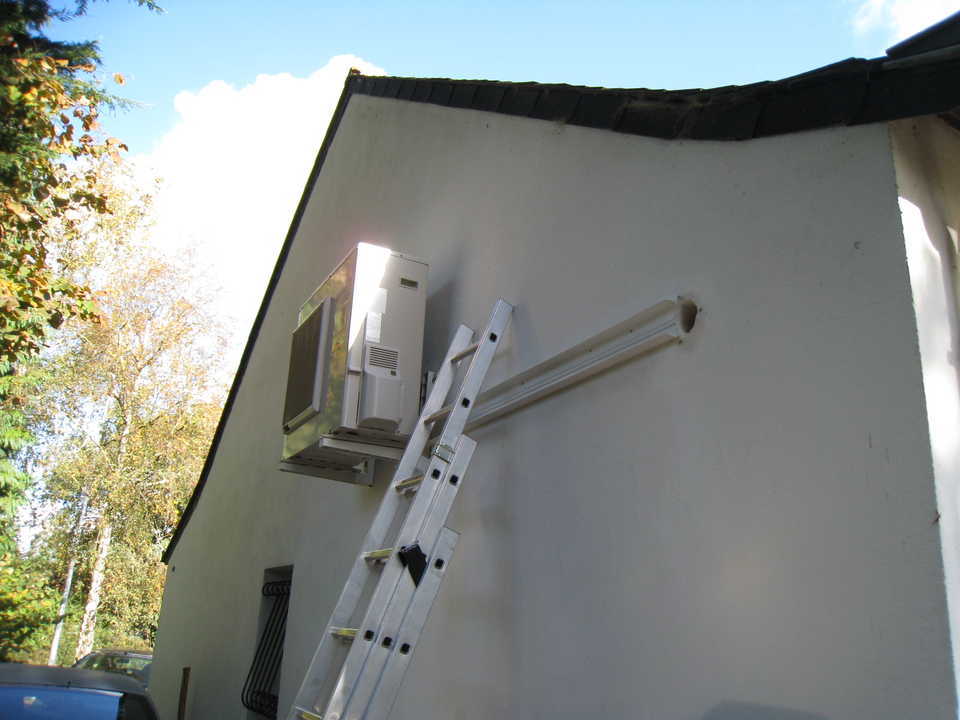
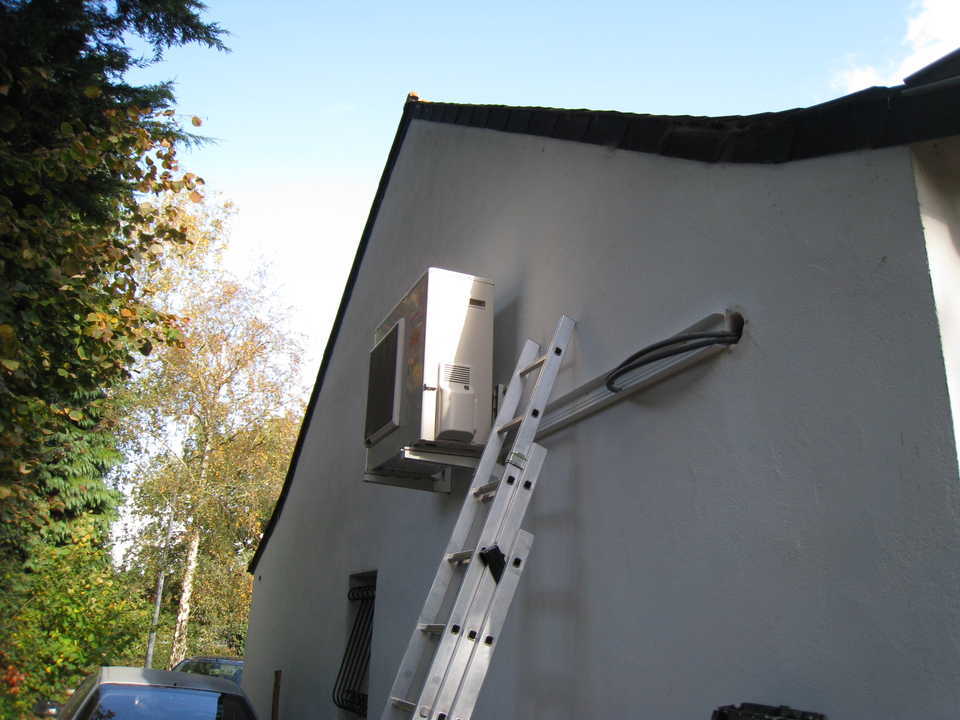
To know that it is a beautiful baby heavy and is not easy to climb 3 meters high.
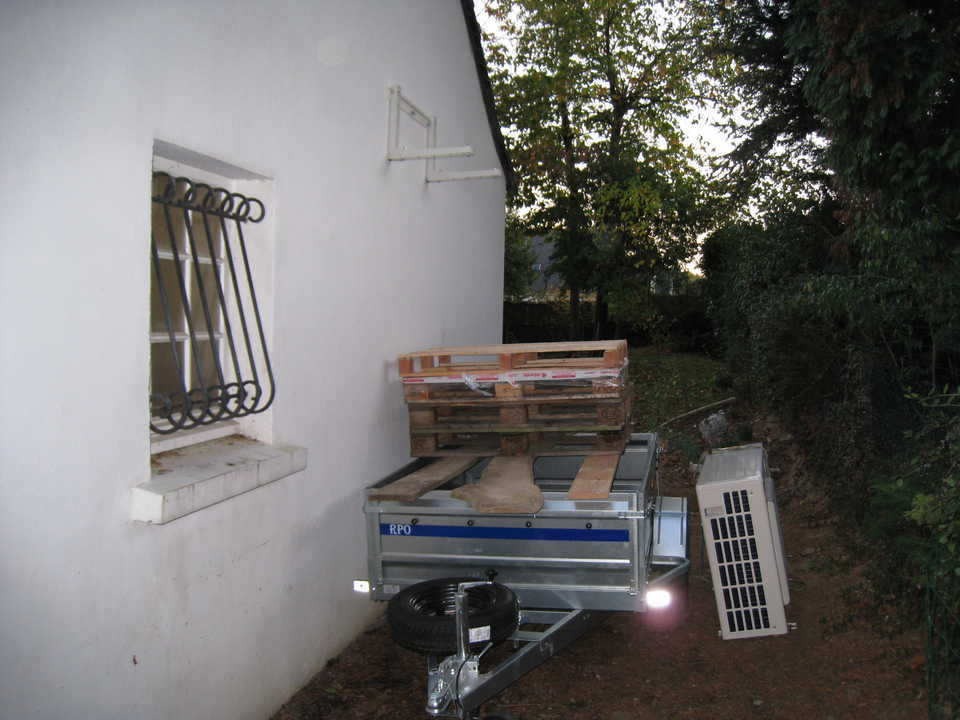
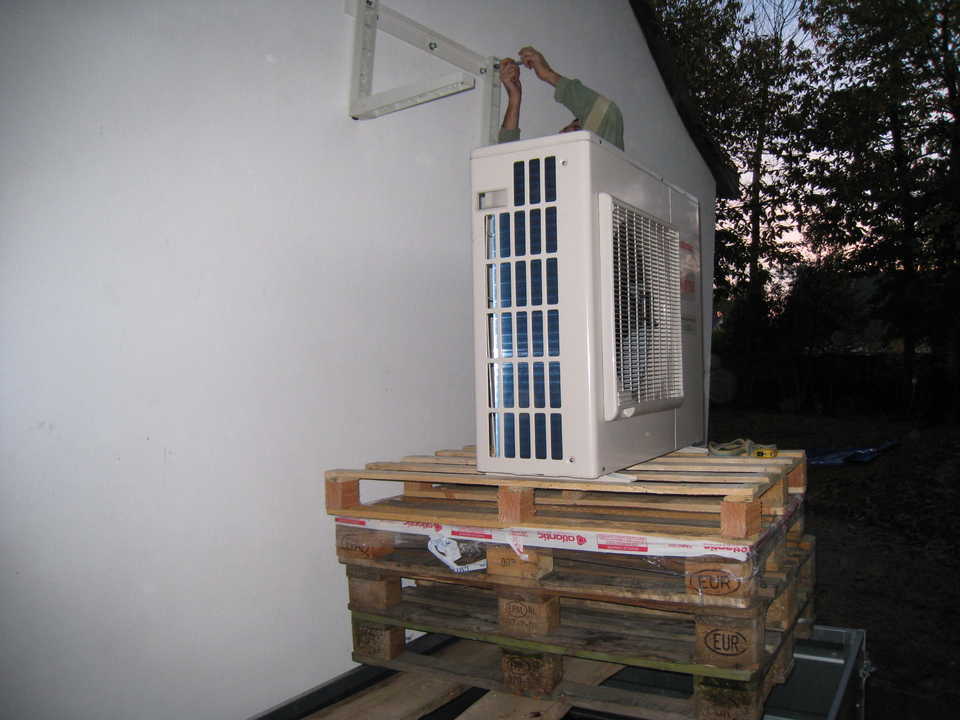

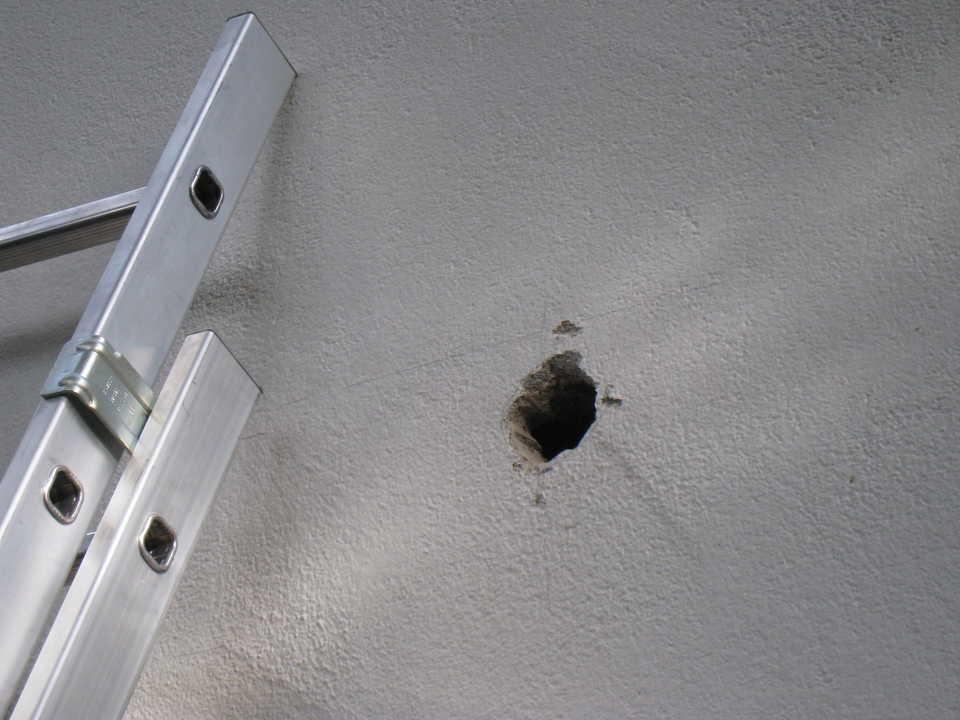
To power it electrically and also pass the gas cables, it is necessary to provide a chute and a hole in the wall to connect the two units, inside and exterior.
Installation of the indoor unit of the air-air heat pump
The indoor unit of an air air heat pump is the element that will ensure the suction of the air from the house, warm it up and then reinject it into the house via the blows of blowing.
It is also going to control the outdoor unit and tell him if it is necessary to warm the air or not. Finally, the central heating remote control of the house is directly connected to it to ensure the good temperature of the central room (often the living room).
The indoor unit thus is:
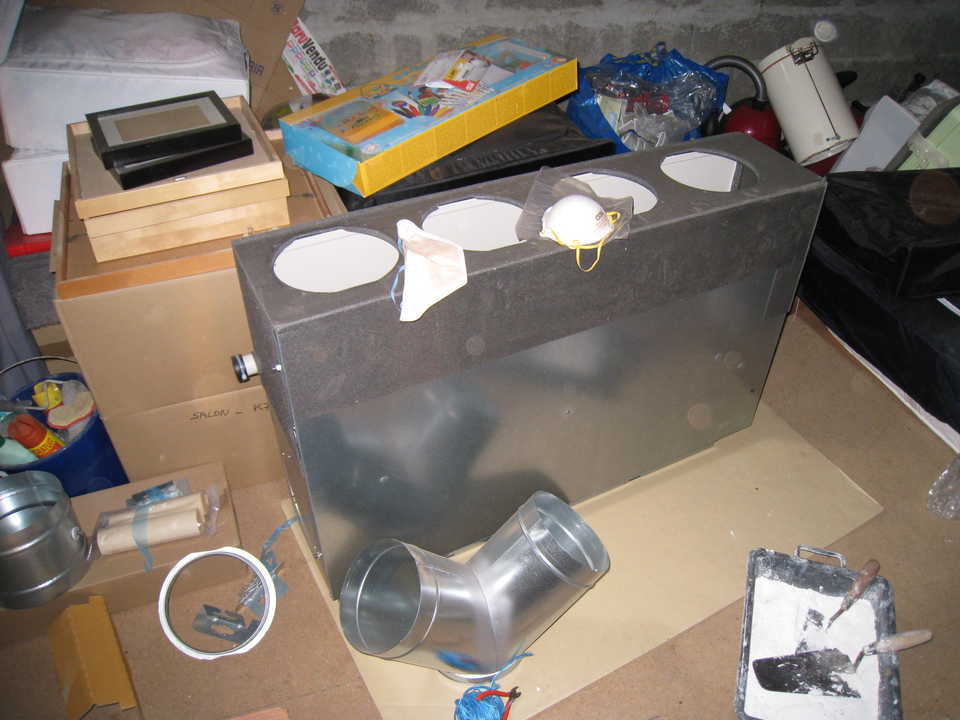
This element of the heat pump is a kind of large fan. The first question we ask is so, is it going to make noise and especially, is it vibrating and it moves!
Finally subsidiary question: is it heating!
Well for all the questions, the answer is no! It does not heat up too much, it does not make noise or vibration.
We decided to install this indoor unit on a classic melamine plate, quite thick:
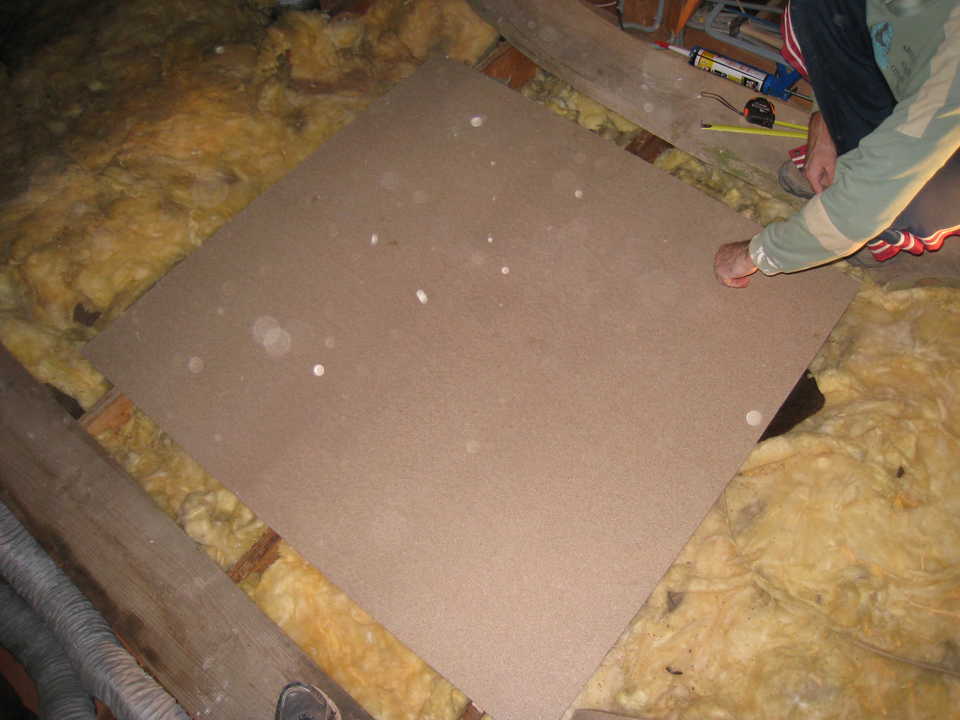
We then covered it with an extruded polystyrene plate to avoid all vibrations and noises through the frames of the frame:
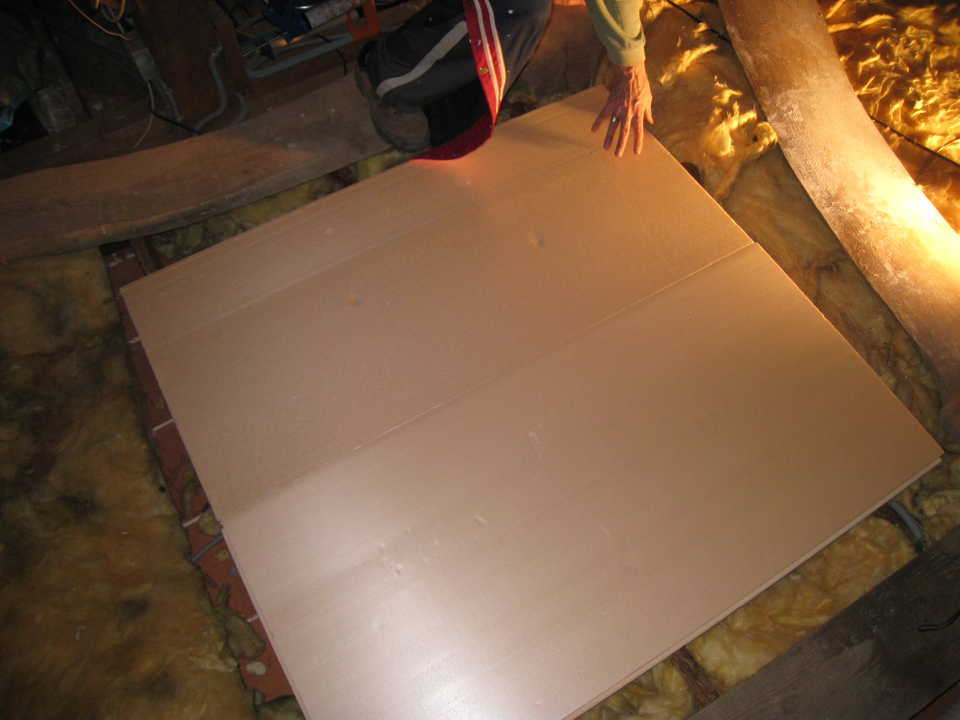
Once this “bed” made, we were able to place the indoor unit on it! CAUTION, think about providing a slight offset for the outdoors of the indoor unit in the air conditioner version:
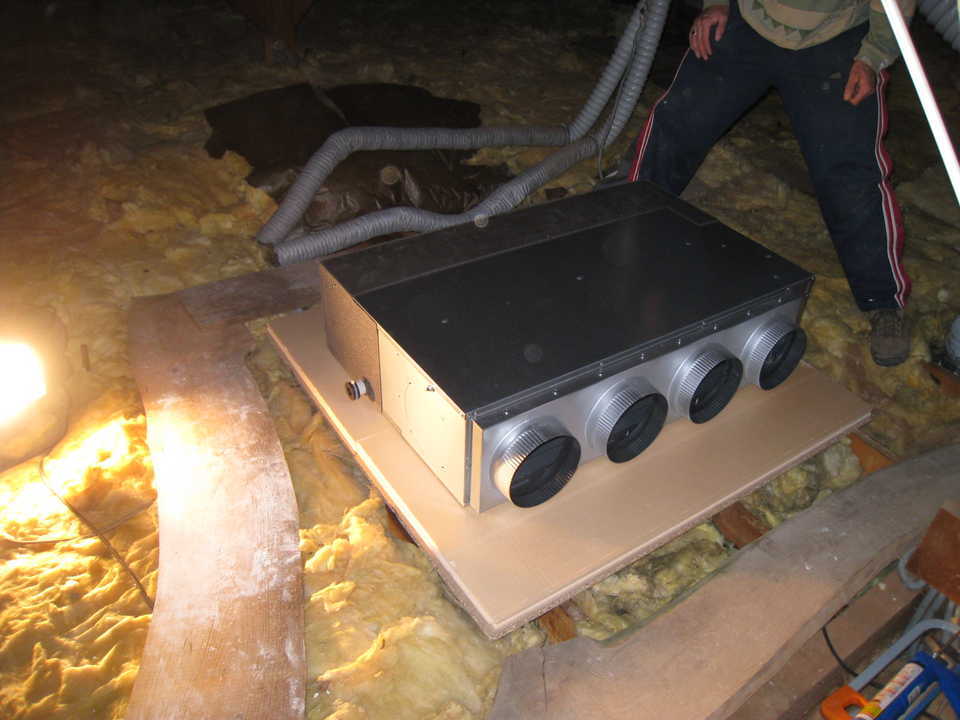
So here for the installation of the indoor unit of the air air pump!
Laying blows of blowing an air-to-air heat pump
The blowing mouths make it possible to blow hot air, heating in all rooms.
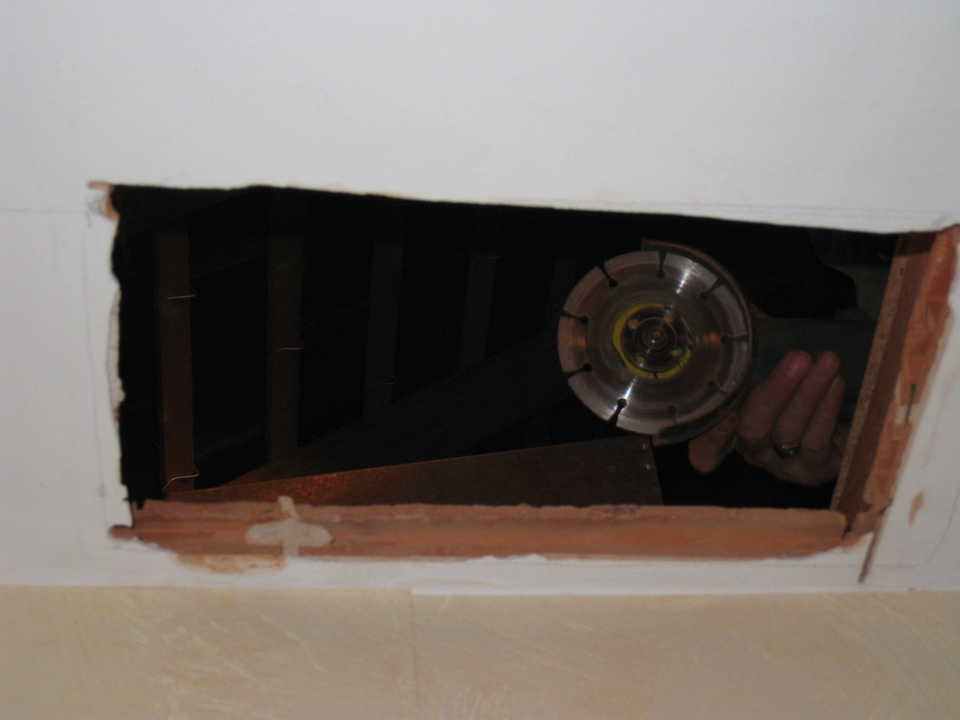
Nothing complicated in this step, apart from being the dust caused by the cutting of the brick ceiling to the stunner.
I advise you to hold a carton under the hole to do to recover a big part of the cutting dust.
The most painful thing remains to be able to coordinate the hole that one wants to place in the room with the possibility not to fall on a beam or a joist …
After making the necessary landmarks, cut your hole with a flusker:
Then place your box:
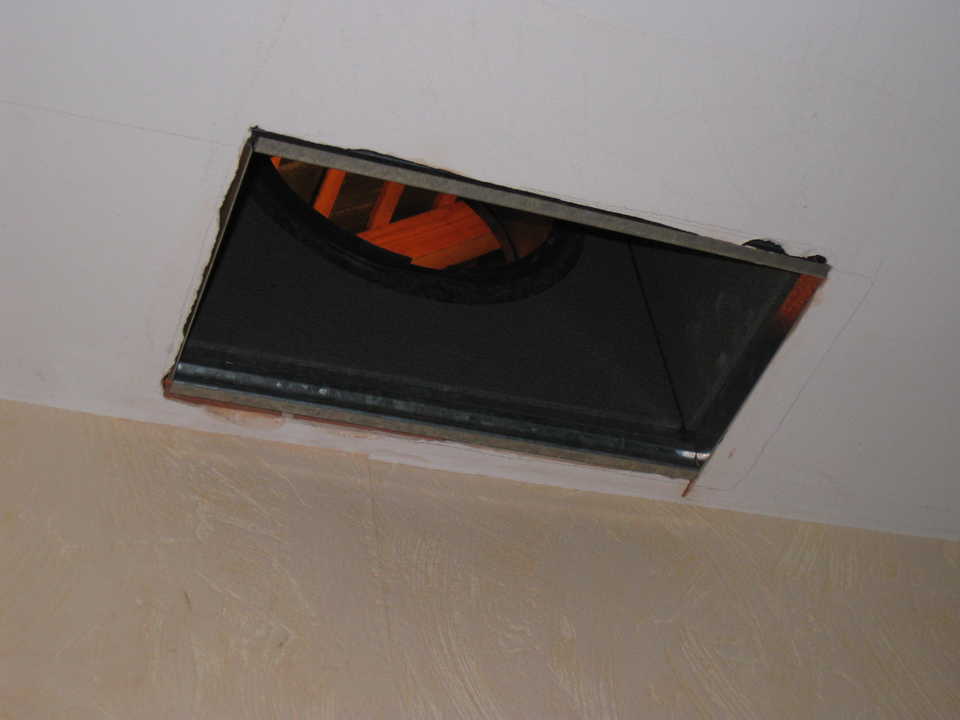
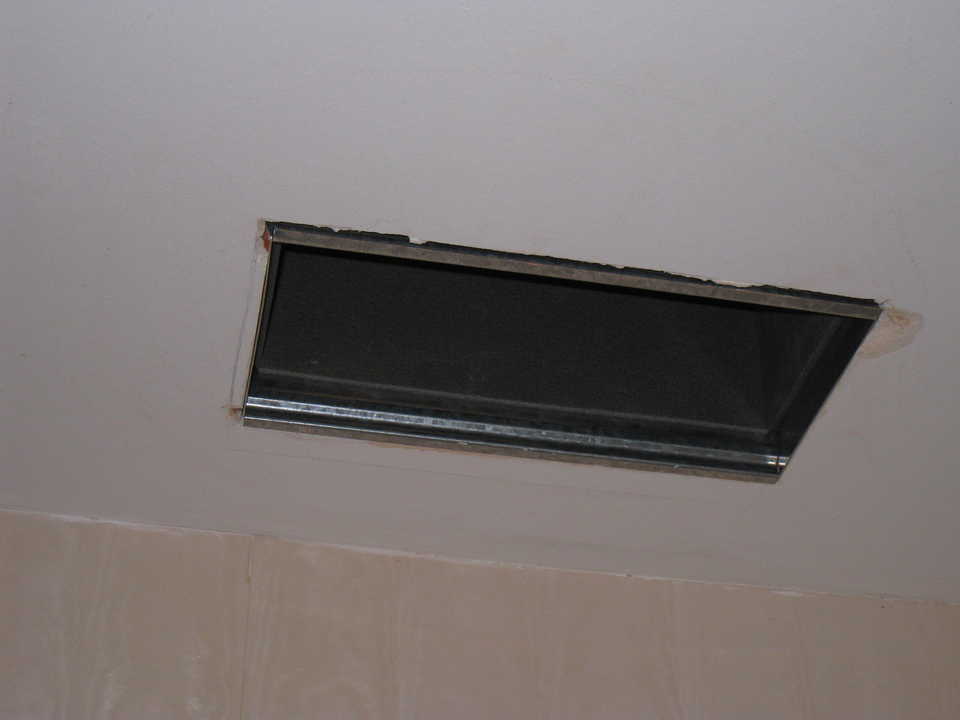
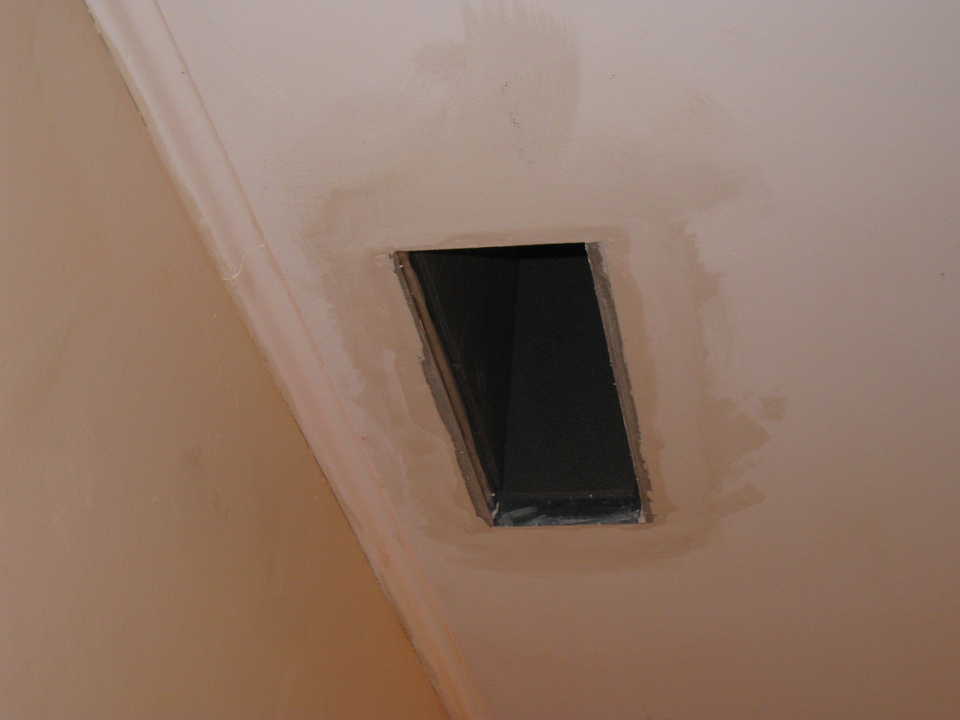
and plaster:
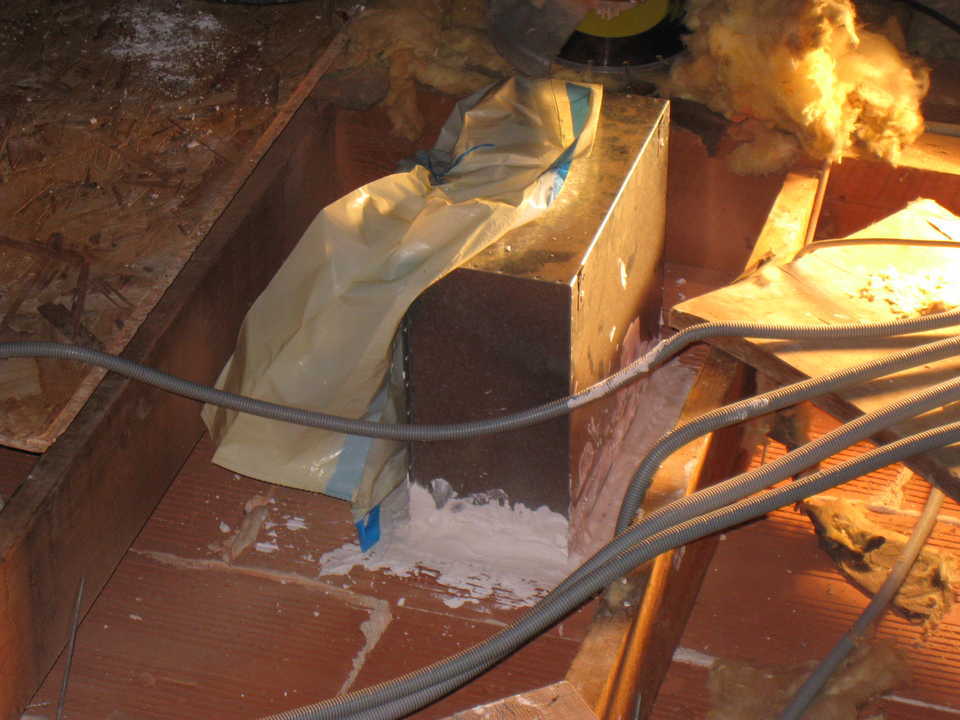
Here is the blowing box seen from the attic:
Setting up the suction mouth of the CAP
The suction mouth allows as its name indicates to suck the air from the house and filter it.
The air thus sucked ironed by the indoor unit that will if necessary, warm it to reinject it into the house.
This is its installation:
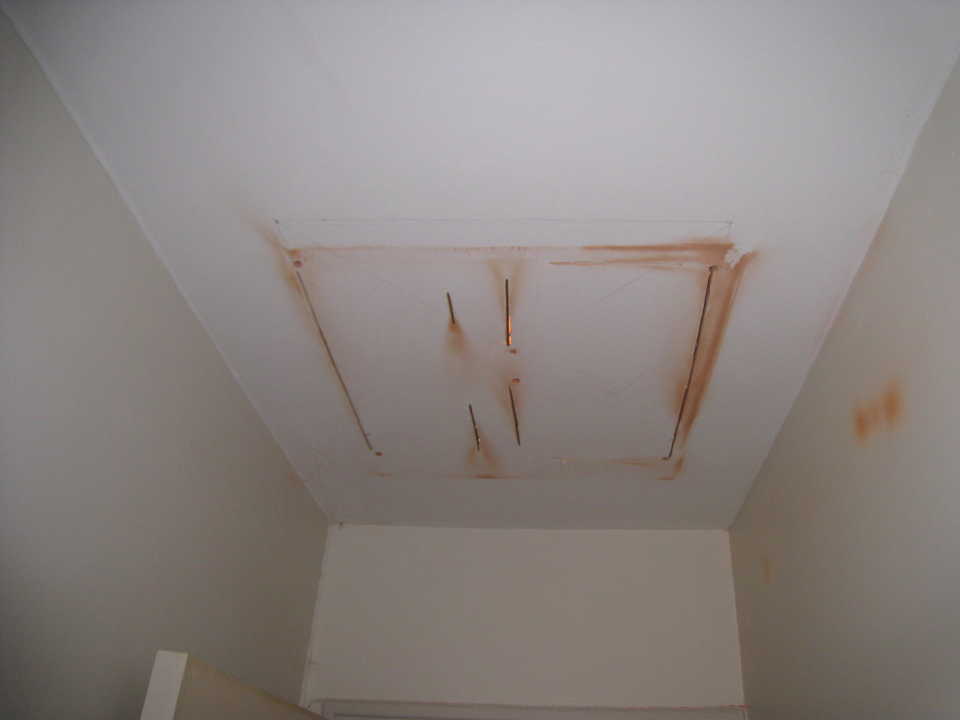
The hole will be done in several times, by successive cuts
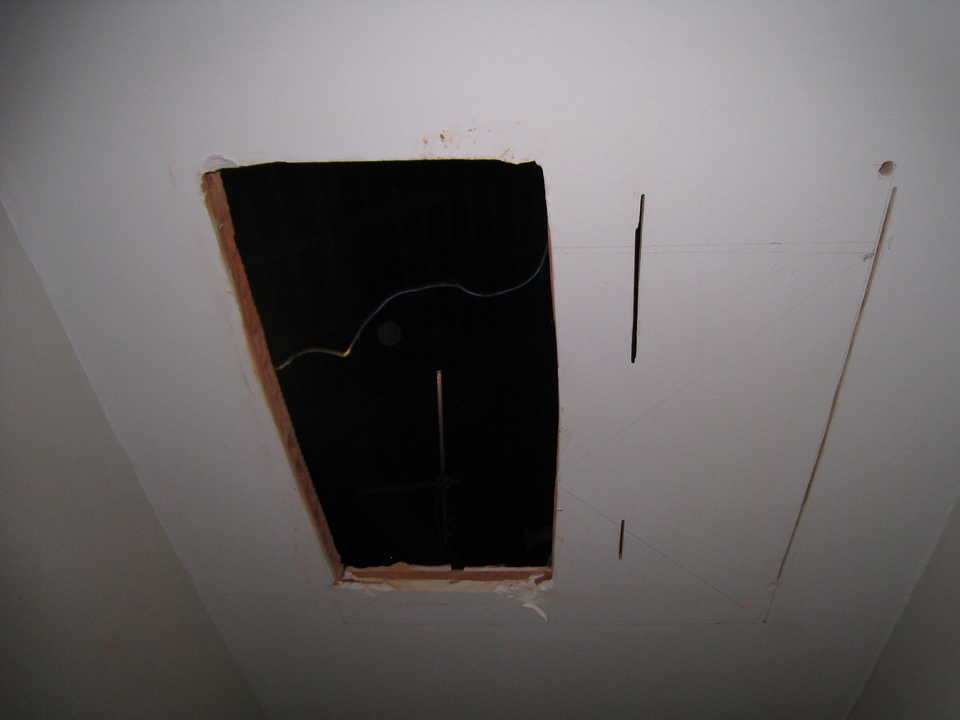

It makes a sacred hole in the corridor anyway!

The box is placed and presents rather well
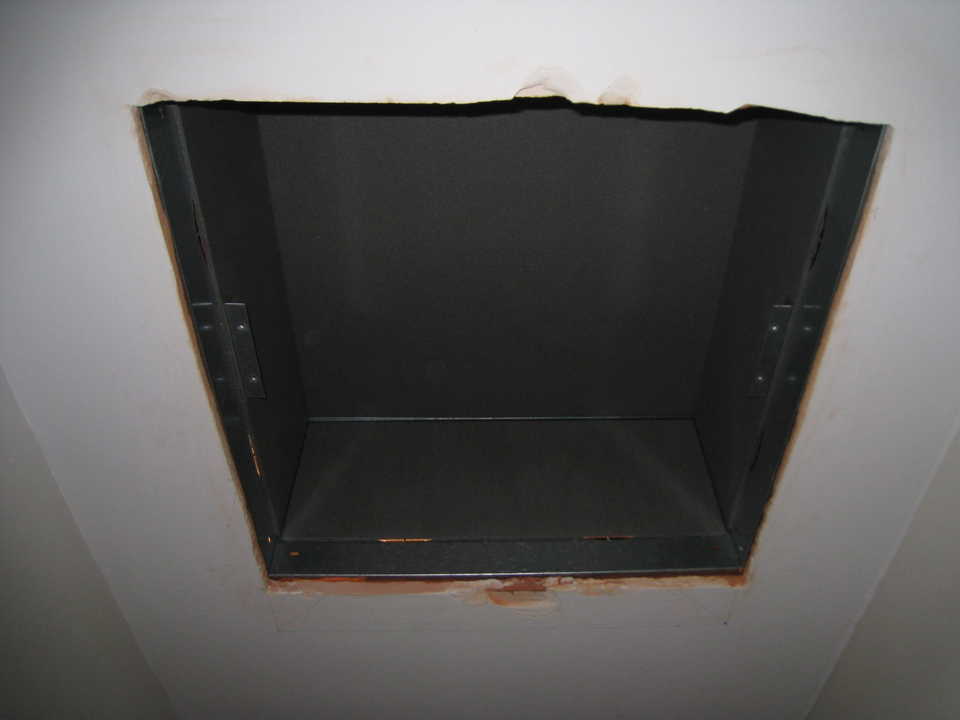
The holes of the 4 sleeves were cut via the pre-cut holes.
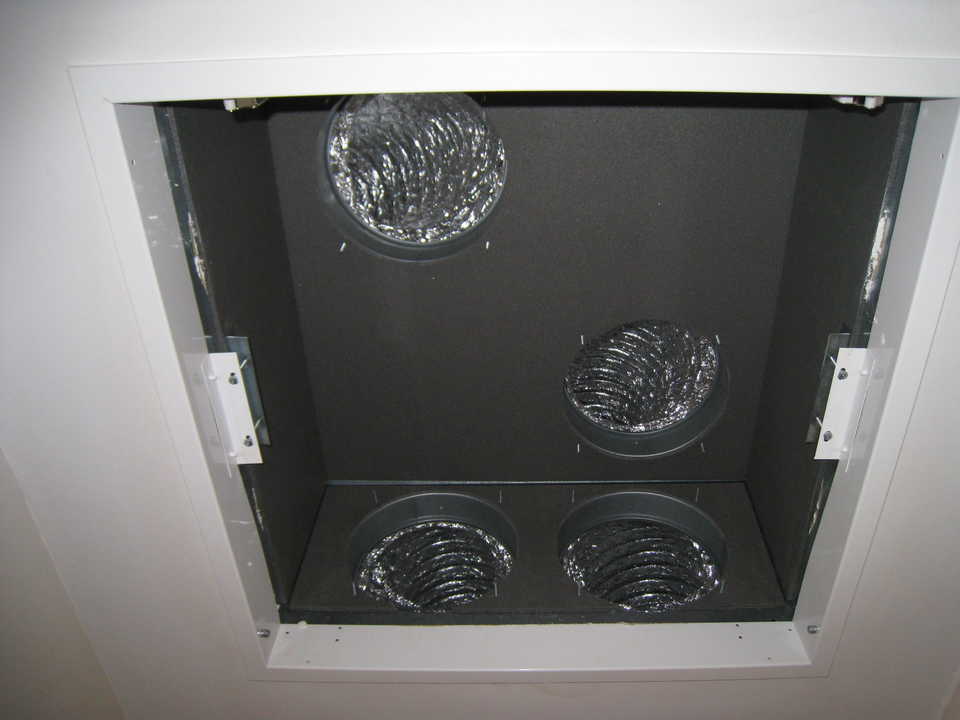
does not miss the grid for it to do a little more pretty!
Note that I thought it was going to do a little ugly in the corridor but in the end, it fits very well and remains very discreet.
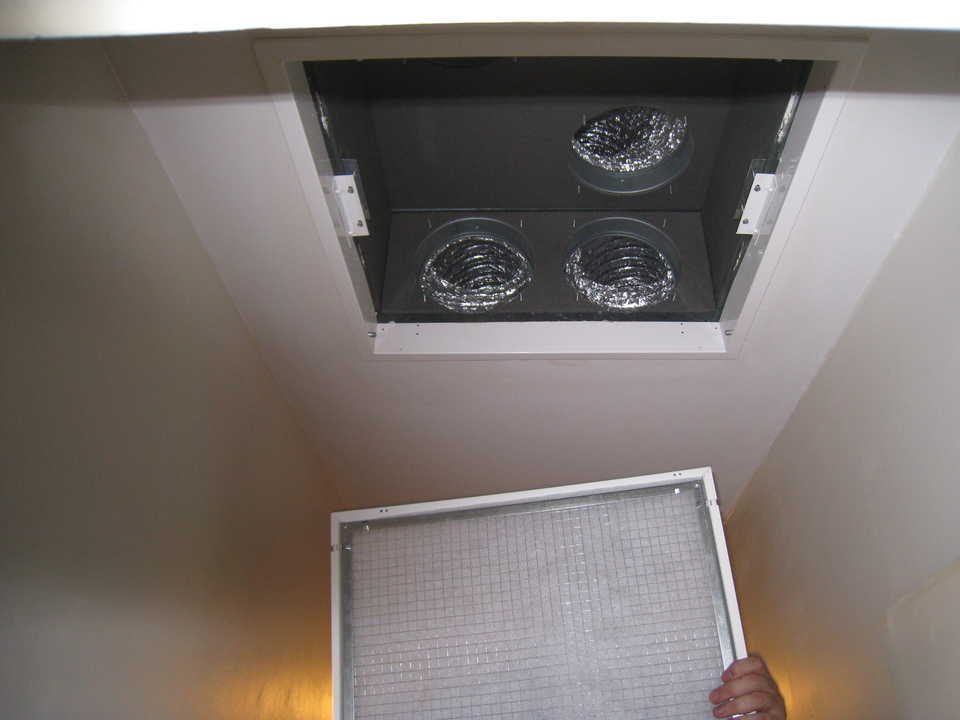
Here is the suction mouth seen from the attic:
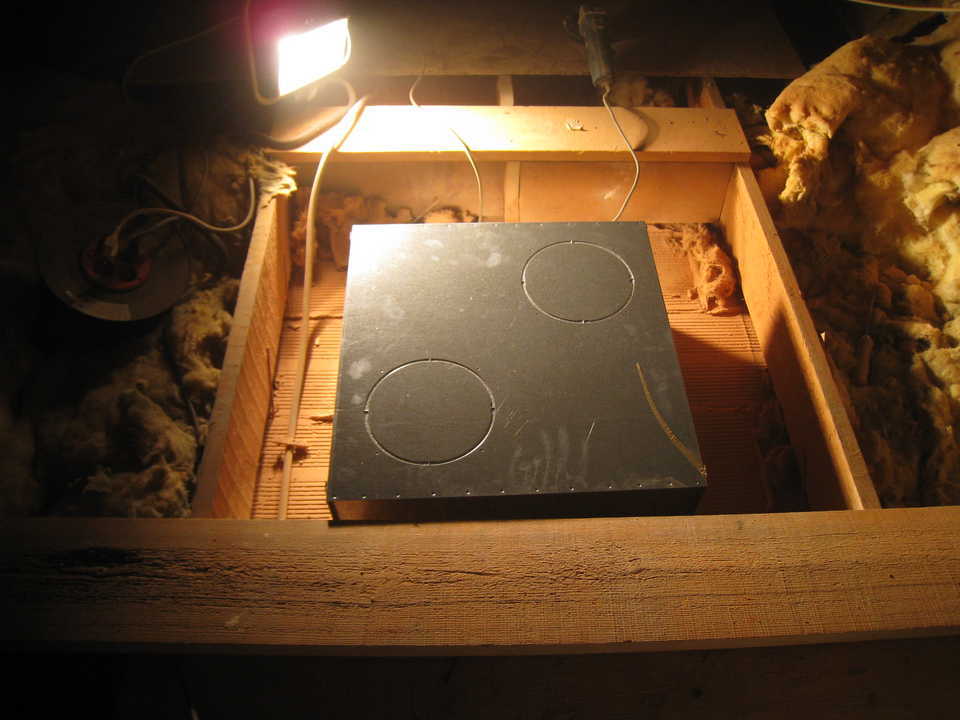
Now, if we connect all that:
Connection of the blowing and suction sleeves of the air-air heat pump
The connection consists in connecting the blowing caps and the suction mouth to the indoor unit.
This is done using isolated aluminum sleeve.
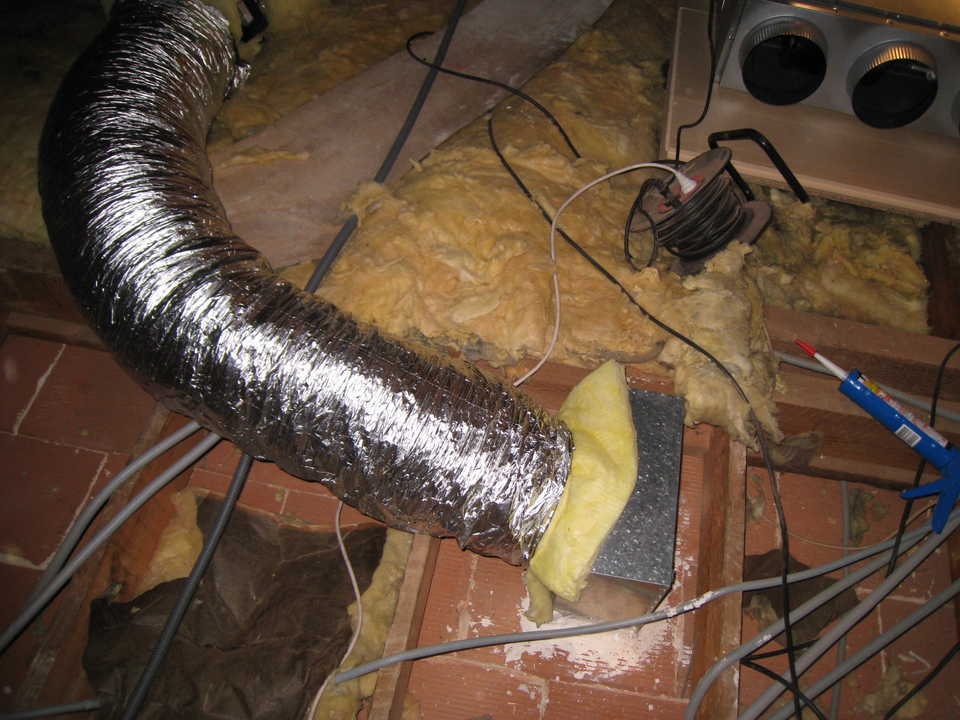
All ducts are composed of a manual register and an electrical register.
At least one sheath has only one opened manual sheath, to avoid any risk of “pressure” in the sheaths in case of electrical problem
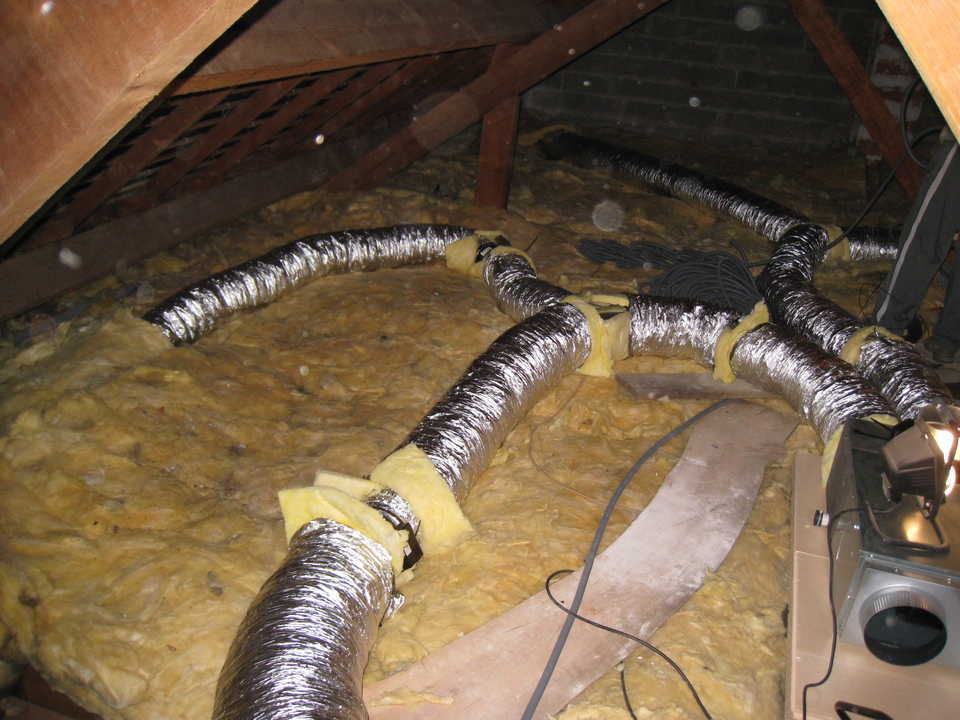
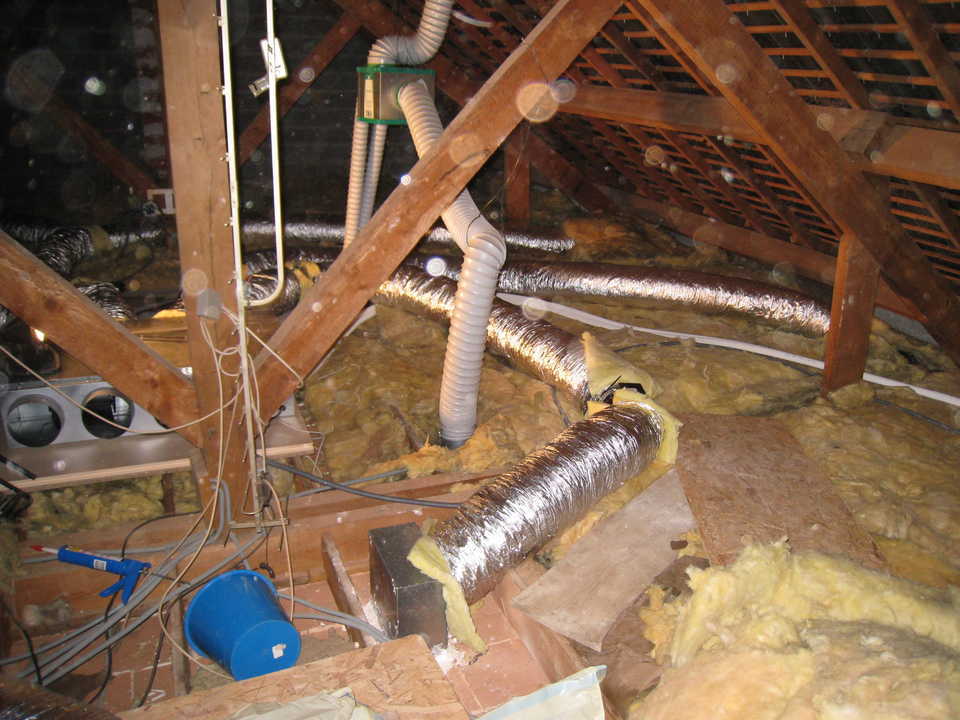
All blows of blows are finally connected:
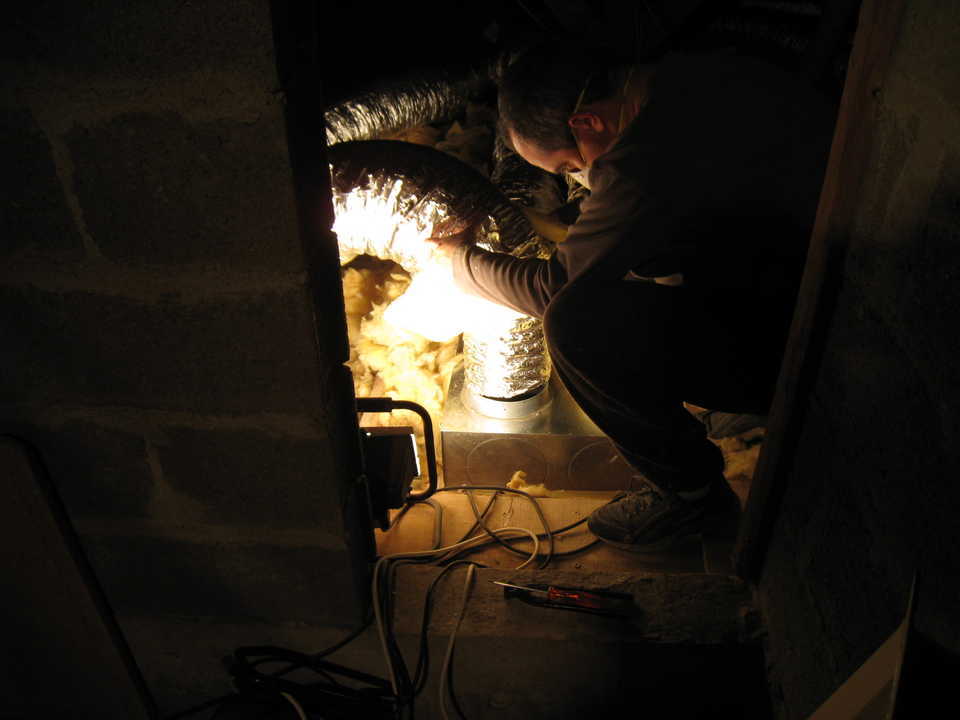
Mandatory mask with glass wool dust that flies everywhere in the attic.
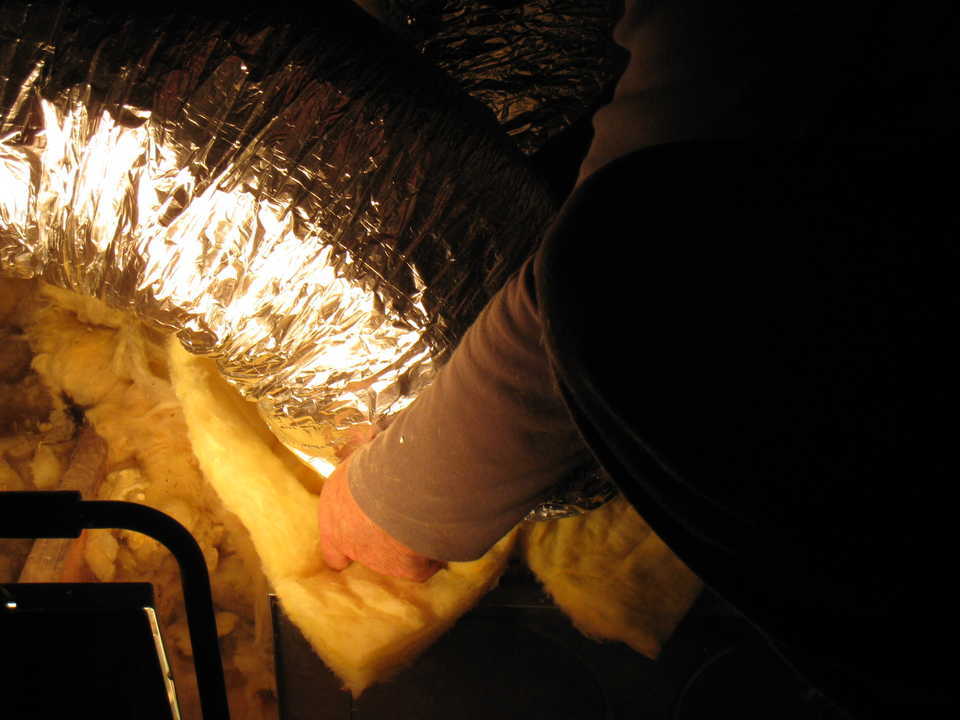
The fixing of the sheaths to the mouths was made by plastic necklaces. The ideal is still greenhouse “iron” necklaces.

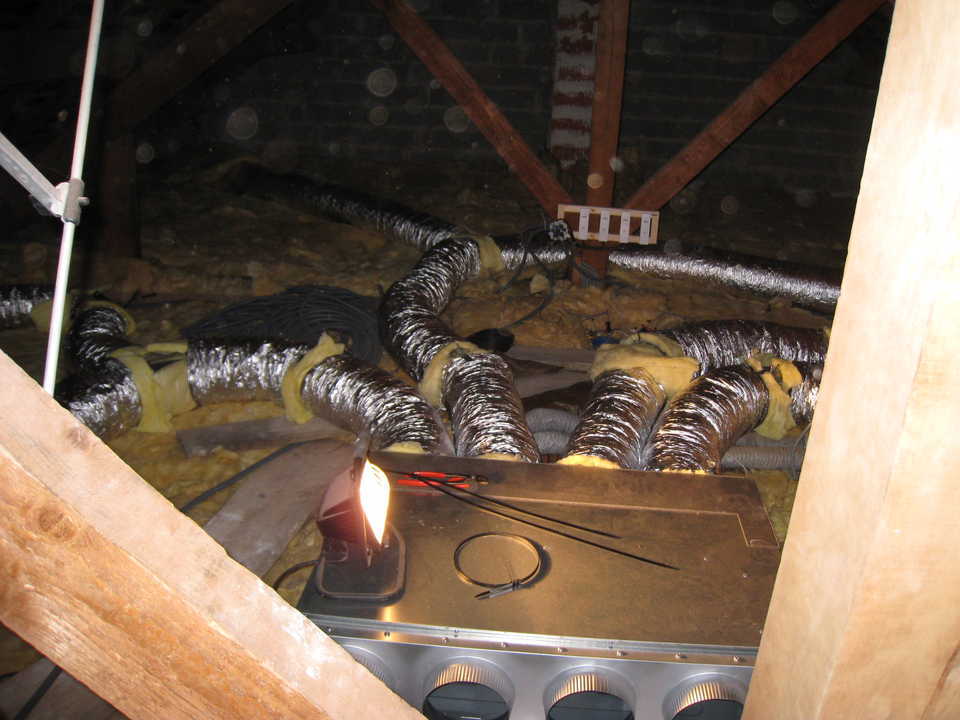
this gives us a holy octopus.
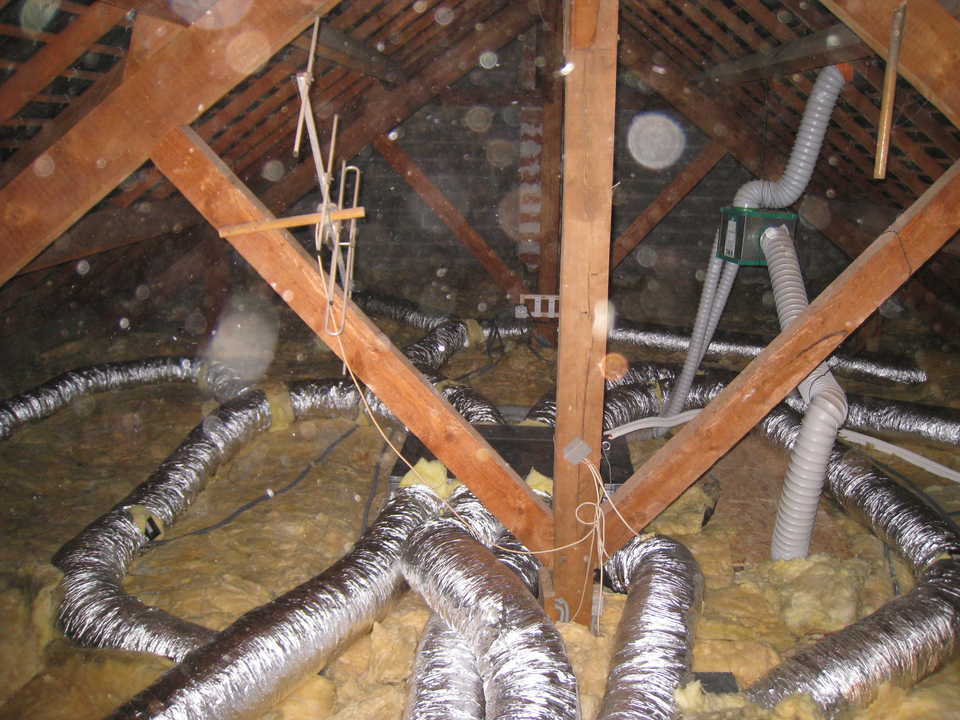
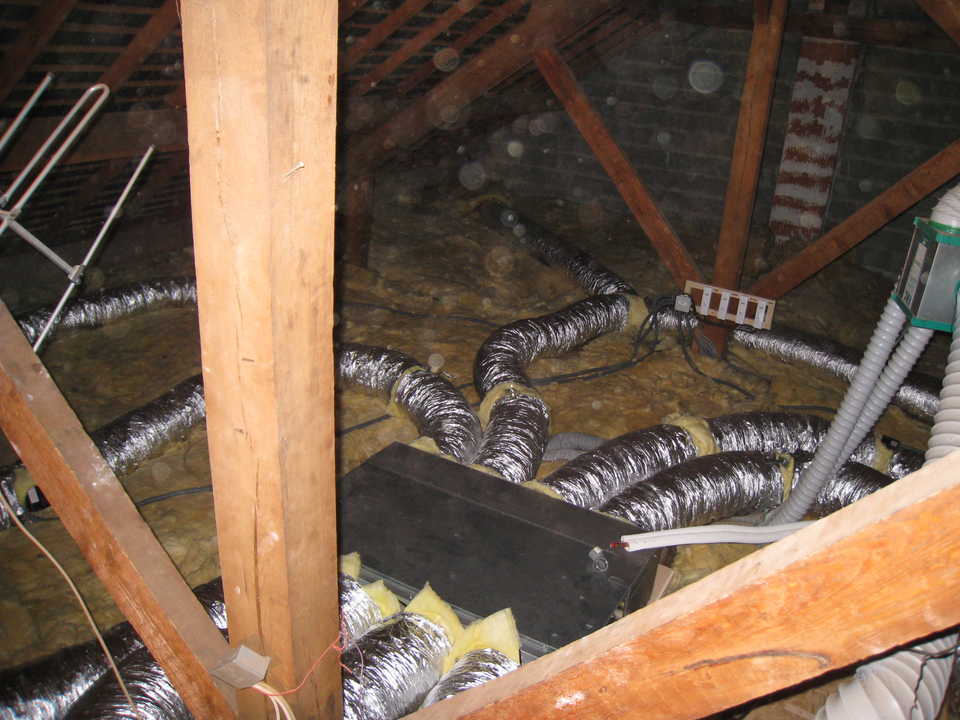
It can be found at the bottom the thermostats which control the electrical registers (sort of pane that opens or closes to pass the heat or not)
These thermostats are remotely controlled by wireless electronic thermostats placed in each house parts.
Once arrived at this stage, the hardest is behind us, let now make a professional
Commissioning an air-to-air heat pump
The commissioning of the heat pump or gaser must absolutely be made by a professional.
If only for reasons of insurance. An annual interview should also be considered.
Count about a hundred euros per visit.

Heat pump operation: the main thermostat
So already, it looks like this, it is the one that commands the indoor unit and therefore affects the overall temperature of the house (in fact, the temperatures of your parts ordered by register can not be greater than that defined. by this thermostat)

From this thermostat, you will be able to control the temperature to reach, the mode (heating or air conditioning).
But also, the ventilation speed, and the programming to have a modulated temperature depending on the hours or days of the week.
So small downside for cycle programming.
Indeed, there is no on my version of the stack of programming and therefore, at the slightest power failure, we lose everything!
So after repeating the programming several times, I ended up giving up and I preserve the same temperature all the time …
Install its heat pump in video
Here is the installation in the form of a slideshow of the article photos: https://www.youtube.com/embed/6dkx6yf5aww
So for the different stages of installing a heat pump.
You can realize that it is possible to install your heat pump!
I’m waiting for your questions !!
Edit DUE 21/10/2015
Return of experience on the installation of Fred Alias Loudes
Fred was inspired by this article to mount his own heat pump and came to share his experience with us.
I thought that his feedback is drowned in the flow of comments so I integrate here for more visibility!
Hello Christophe,
I come to complete your report without which I will never have started in this adventure and for that a big thank you.
So for my part, I have a 12KW outdoor unit (double fans and an inner unit that is equipped with a 4-bit recovery plenum and a blowing plenum 4 mouths all in diameter 200)
– Regarding the external fixation of the unit: no worries to 3 people we managed to fix it
– For the electrical connection everything is indicated in the manual (I am an electrician his help but really well detailed) it was necessary that I pass a flexible cable in 5G6mm2 between my circuit breaker 32a mono and the outer unit
– For the attachment of the inner unit, I fixed it suspended with cloths with fermettes (I do not know if it’s really the name)
– Concerning the electrical part of the inner unit, a 4G1,5mm2 cable between the inner unit and the outer unit + the connecting cable between the wired thermostat and the inner unit (this cable being provided)
– For the gas part, I bought a tube crown diam adapted to what is referenced and requested for this model (beware of bending and especially do not cut the right risk of humidity in)
– For gas connection I called a company that made fittings at the 2 ends as well as the vacuum and the verification sealing
– For the aerolic part I got a little more embedded, the entire ducts are in diam 200 (4 between the 60×60 central recovery mouth to the plenum of recovery). The length of these sleeves is 5 meters each
– For the blowing part, I have 4 output that each lined with a y the distribution is thus made
– 1 Plenum output for bathroom and a room (2 rooms that make 14 m2 each in which I put 1 mouth per room that make 300×150) long 2m up to y + 1m + 1m
– 1 Plenum exit for 2 bedrooms (which make 10m2 in which I put 1 mouth per piece that make 300×150) long 2m until y + 1m + 1m
– 1 Plenum exit for 35 m2 eaten room (I put 2 mouths that make 400×150) long 4m until Y + 4M + 5m
The set is in diam 200 isolated
The grids are rectangular double deflector adjustable.
For commissioning after power up, I did a hot and cold test with increase and decreased blowing.
In a general way a good handyman searching for tips on the right left can install him himself, the longest is the aerolic part, in the attic it was hot, and you have to find good The technique to put the sleeves
– After 1 month of operation (temperatures are not even deceived below 0 °) but the operation seems good to me. I put a counter to overve my electric conso on this part so I always know my conso.
I also in the parameters put the temperature measurement on the thermostat and not on the inner unit (I read it in several forum otherwise the explosive conso)
– Only downside today: even by adjusting the aeric, I have differences in temperature between the pieces, so a little useless conso, therefore I will put the System zone control with regular piece set, I’ll tell you if it allowed me to improve the system)
Here for my experience and I come back to you as soon as I received and installed the control zone.
Thank you Christophe without whom I did not start
Fred
